
A Quick Bite
Kombucha is fermented tea, and making it at home is mostly brewing sweet tea, feeding it a SCOBY, and waiting.
First ferment: Brew sweet black tea, cool it to room temperature, add starter kombucha and a SCOBY, cover it with a cloth, and leave it in a dark spot for 7 to 10 days.
Second ferment: Bottle it with fruit or juice in flip-top glass bottles and leave it out 2 to 4 days so the yeast carbonates it.
Fruit tip: Strong flavors carbonate and taste best. Mild ones like pear, apple, and watermelon fall flat.
Making kombucha is actually really easy. It just feels super complicated because of all the science involved.
But really, all you're doing is making a big batch of tea
...and waiting.
Kombucha is fermented tea, after all.
Part 1: The First Ferment

Brew Your Tea
To make kombucha, you first need to make some tea.
What you need:
- black tea bags
- plain, cane sugar
- filtered water
Black tea is the standard but you can make kombucha with green, white, or oolong tea if you prefer one of those, instead.
Kombucha made with green tea + raw honey is called jun. It has a lighter, but more floral flavor than kombucha made with black tea.
White tea kombucha is quiet and demure. The flavor is even lighter than green tea, but there are subtle notes of honeysuckle and fruit blossom.
Oolong Kombucha is right smack dab in the middle. Smooth, balanced, and rounded + rich notes of roasted grain and stone fruit.
Whatever you decide on, the main thing to remember is that your tea should come from the Camellia sinensis plant. That specific plant has all the nutrients and tannins your SCOBY needs to survive and thrive. Anything else, and your kombucha just won't be the same.
Tip: Let your tea cool down to room temp. Liquid warmer than 90 degrees F (32 C) will kill the live culture that you need for fermentation.
Add Your Starter
After you've brewed your tea, you'll need to help kick off the fermentation process. You can either use raw, unflavored kombucha or a SCOBY if you have one.
How To Store Kombucha
When your kombucha is cool, put it in a glass or plastic container.
Do not, I repeat, do not put your kombucha in a metal container. Especially aluminum, copper, or low-grade stainless steel.
Kombucha and metal just don't get along. The kombucha is super acidic, and will corrode any metal it comes in contact with. Unless you like metal in your kombucha, best to leave it out.
If you want your kombucha to turn out right, put it in a glass or food-grade plastic (PET or HDPE) container. You can use stainless steel, but it has to be really high quality.
It'll need to breathe, so don't cover it with a tight lid. Cover it with a coffee filter or dish towel and secure it with a rubber band.
Tip: You might think cheese cloth is an obvious choice for a cover since it's super breathable, but it's actually a little too hole-y. Bugs and debris could get inside the container and ruin your batch, so stick with something tightly woven.
Where To Keep Your Kombucha
You can put your kombucha in a kitchen cabinet or leave it out on the counter. Basically you want to keep it in any place that doesn't get a ton of sunlight since the sun's UV rays can kill any good bacteria forming.
Then, all that's left to do is wait.
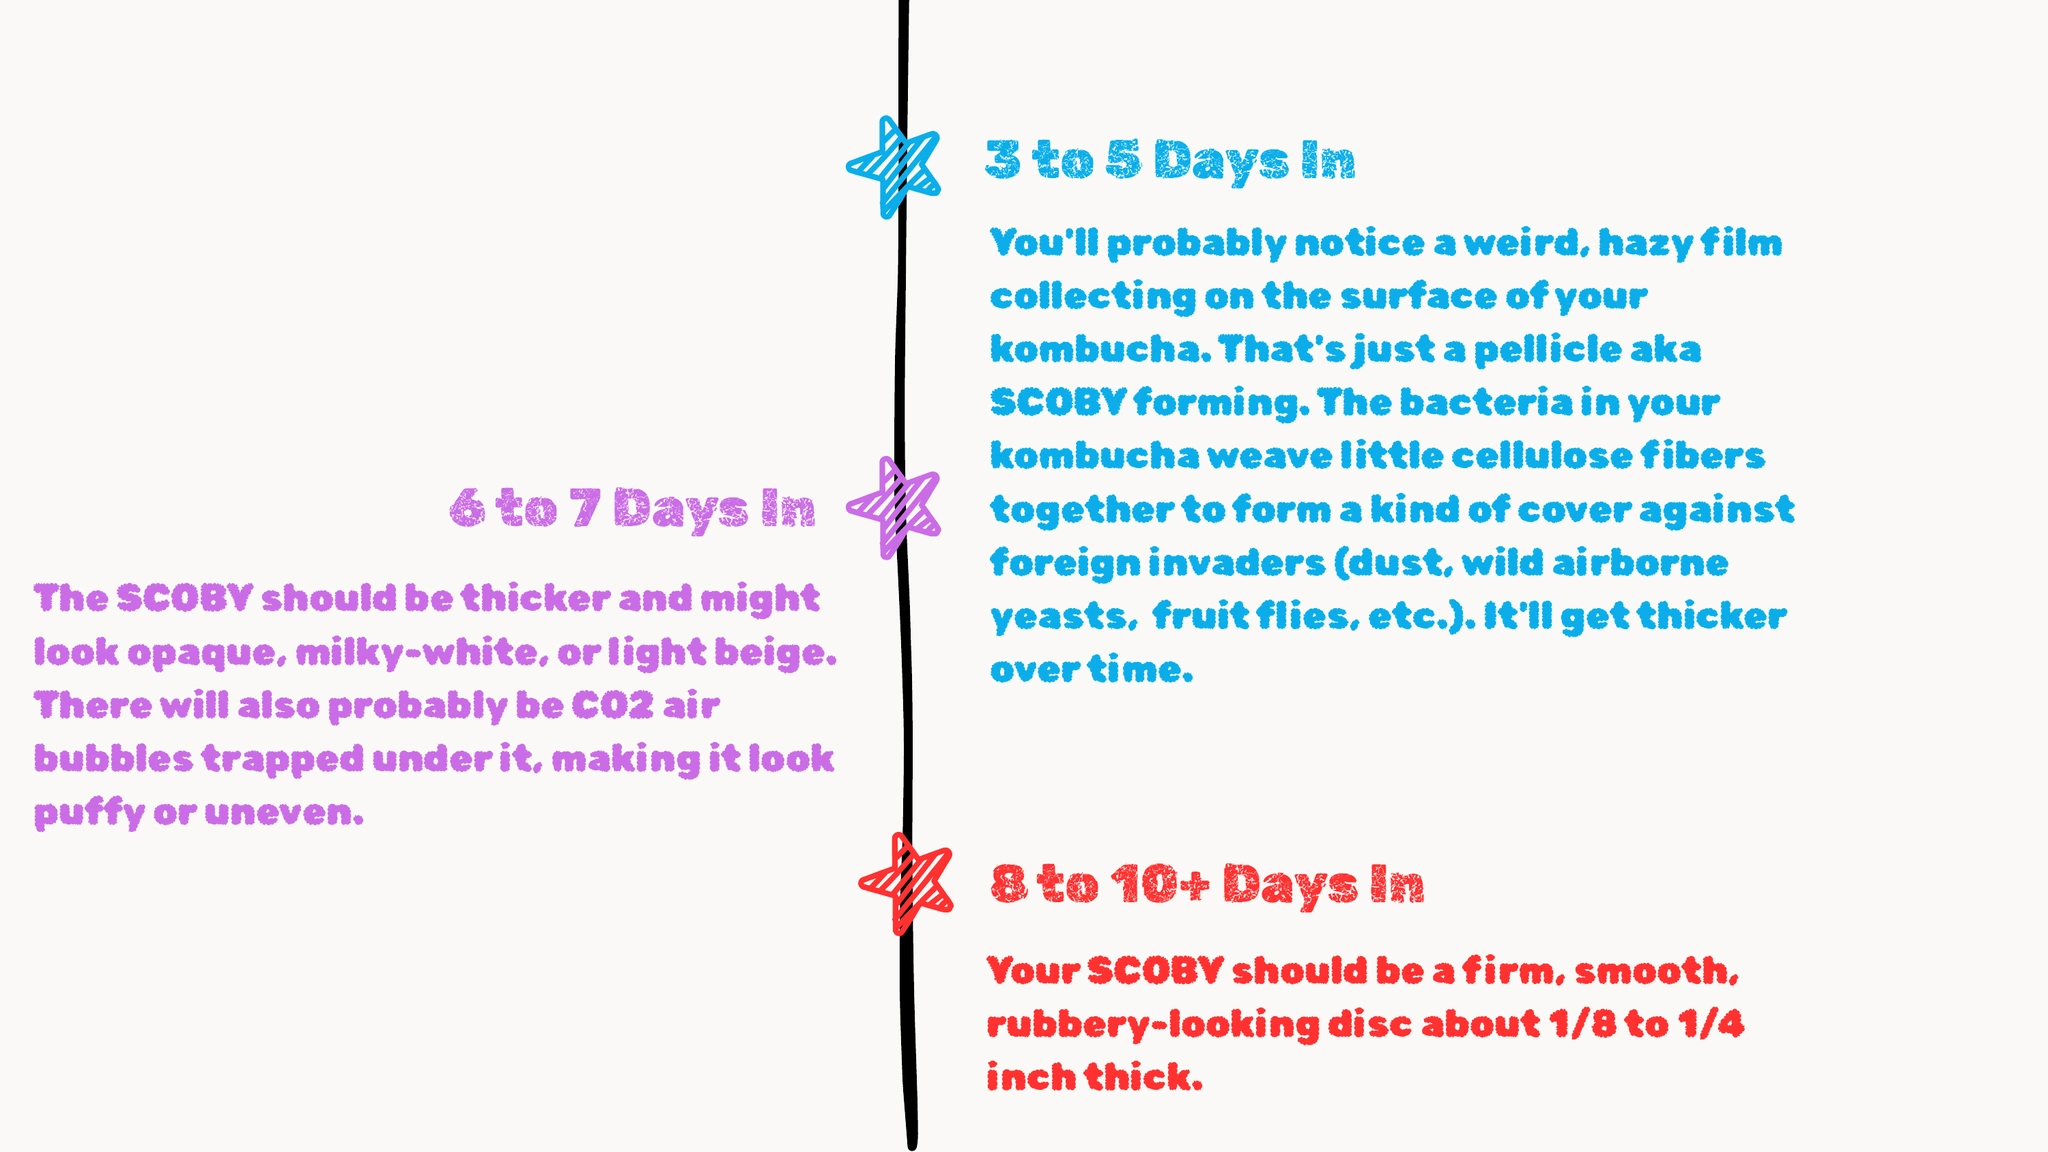
After a week, you can start tasting it to see how you like it. That classic kombucha tang will be pretty mild at this point. Instead, it'll be more on the sweet side with a faint vinegar flavor. But the longer you let it sit, the more acidic your kombucha will be.
Part 2: The Second Ferment
This is the part where you take the wheel and make your kombucha exactly how you like it.
If you haven't already, take your SCOBY out and put it away.
What To Do with Your Scoby
- 1 First thing's first, wash your hands. Since we're working with good bacteria, don't use antibacterial soap.
- 2 Put the SCOBY in a clean glass bowl with about 2 cups of your kombucha liquid. The bacteria in your SCOBY will need that to survive.
- 3 Store your SCOBY at room temp in a dark place.
- 4 When you're ready to use your SCOBY, just dump it along with the remaining liquid into freshly brewed tea.
- 5 Wash, rinse, repeat.
By now, your base brew will be nice and tangy,
...but flat.
At this stage, your kombucha needs 2 things:
1 Flavor
2 Carbonation
You can get both of these by adding fruit, either in whole form, puree, or juice.
Carbonation
The natural sugar in fruit is food for the yeast in your kombucha. They eat it, burp it out, and create carbonation as a result.
Flavor
Fruit will also add a good flavor to your kombucha. But you want to pick ones that aren't too mild, otherwise you won't taste much of anything.
Do
- mango
- cherry
- lemon
- raspberry
- strawberry
- blueberry
- pineapple
Don't
- pear
- apple
- cantaloupe
- honeydew melon
- watermelon
- banana
- dragonfruit
Or if you don't want to add fruit at all, these ingredients can add a different kind of flavor:
- honey
- maple syrup
- ginger
- turmeric
- mint
- cinnamon sticks
- vanilla bean
Add your fruit (puree, chopped, or juice) directly into some flip-top glass bottles until about 10% to 15% of the bottle is filled.
Tip: Don't use mason jars or decorative bottles for this part. You need bottles with heavy-duty rubber seals (like Grolsch-style bottles) that can keep oxygen out. That way, the yeast can eat the fruit sugars and burp out carbon dioxide aka make it carbonated.
Step 3: The Waiting Game
Now you can pour your kombucha into the bottles, leaving about 1 to 1.5 inches of air room at the top.
You're going to leave your kombucha out for 2 to 4 days. After a couple of days, you should do a taste test. The longer you let it sit, the more carbonated it will be.
Once you've decided it's to your liking, put it in the fridge to chill. The cold will keep the yeast from eating up the sugar and making it overly carbonated.
Then, after at least 12 hours, you can take it out of the fridge and enjoy!
How to Brew Kombucha Recipe
Yield: 1 gallon batch | Total time: 9 to 14 days
Ingredients
- 14 cups filtered water (divided)
- 1 cup plain cane sugar
- 6 to 8 bags tea (Camellia sinensis, black, green, white, or oolong)
- 1 active SCOBY
- 2 cups unflavored raw starter kombucha
- Flavoring for F2: 2 to 3 tbsp chopped fruit or puree, or 2 to 3 oz 100% fruit juice per 16 oz bottle
Equipment
- 1-gallon glass jar
- Tight-weave cloth cover (or coffee filter) + rubber band
- Flip-top (swing-top) glass bottles
Step-by-Step
Phase 1: First Fermentation (F1)
- Brew & Sweeten: Boil 4 cups of water, stir in 1 cup sugar until dissolved, and steep tea bags for 10 to 15 minutes. Discard bags.
- Cool Completely: Stir in remaining 10 cups of cold water. Let it reach room temperature (under 90 degrees F / 32 C).
- Combine: Pour sweet tea into your 1-gallon glass jar. Add 2 cups starter kombucha and gently slide in your SCOBY.
- Cover & Store: Secure a tight-weave cloth or coffee filter over the top with a rubber band. Store in a dark, warm spot out of direct sunlight.
- Wait & Taste: Let sit for 7 to 10 days. Start tasting at day 7, it's ready when it hits a sweet-yet-tangy balance you like.
Phase 2: Second Fermentation (F2)
- Save Your SCOBY: With clean hands, move the SCOBY and 2 cups of liquid from the top into a bowl for your next batch.
- Flavor & Bottle: Add your fruit or juice directly into flip-top bottles. Pour in kombucha, leaving 1 to 1.5 inches of headspace at the top. Seal tightly.
- Build Carbonation: Leave bottles at room temperature for 2 to 4 days so the yeast can eat the fruit sugars and create bubbles.
- Chill & Serve: Taste test after 2 days. Once it's as fizzy as you like, move bottles to the fridge to stop fermentation. Serve cold!